Free STL file Tails - Classic 👽・3D printing template to download
Por um escritor misterioso
Last updated 21 setembro 2024

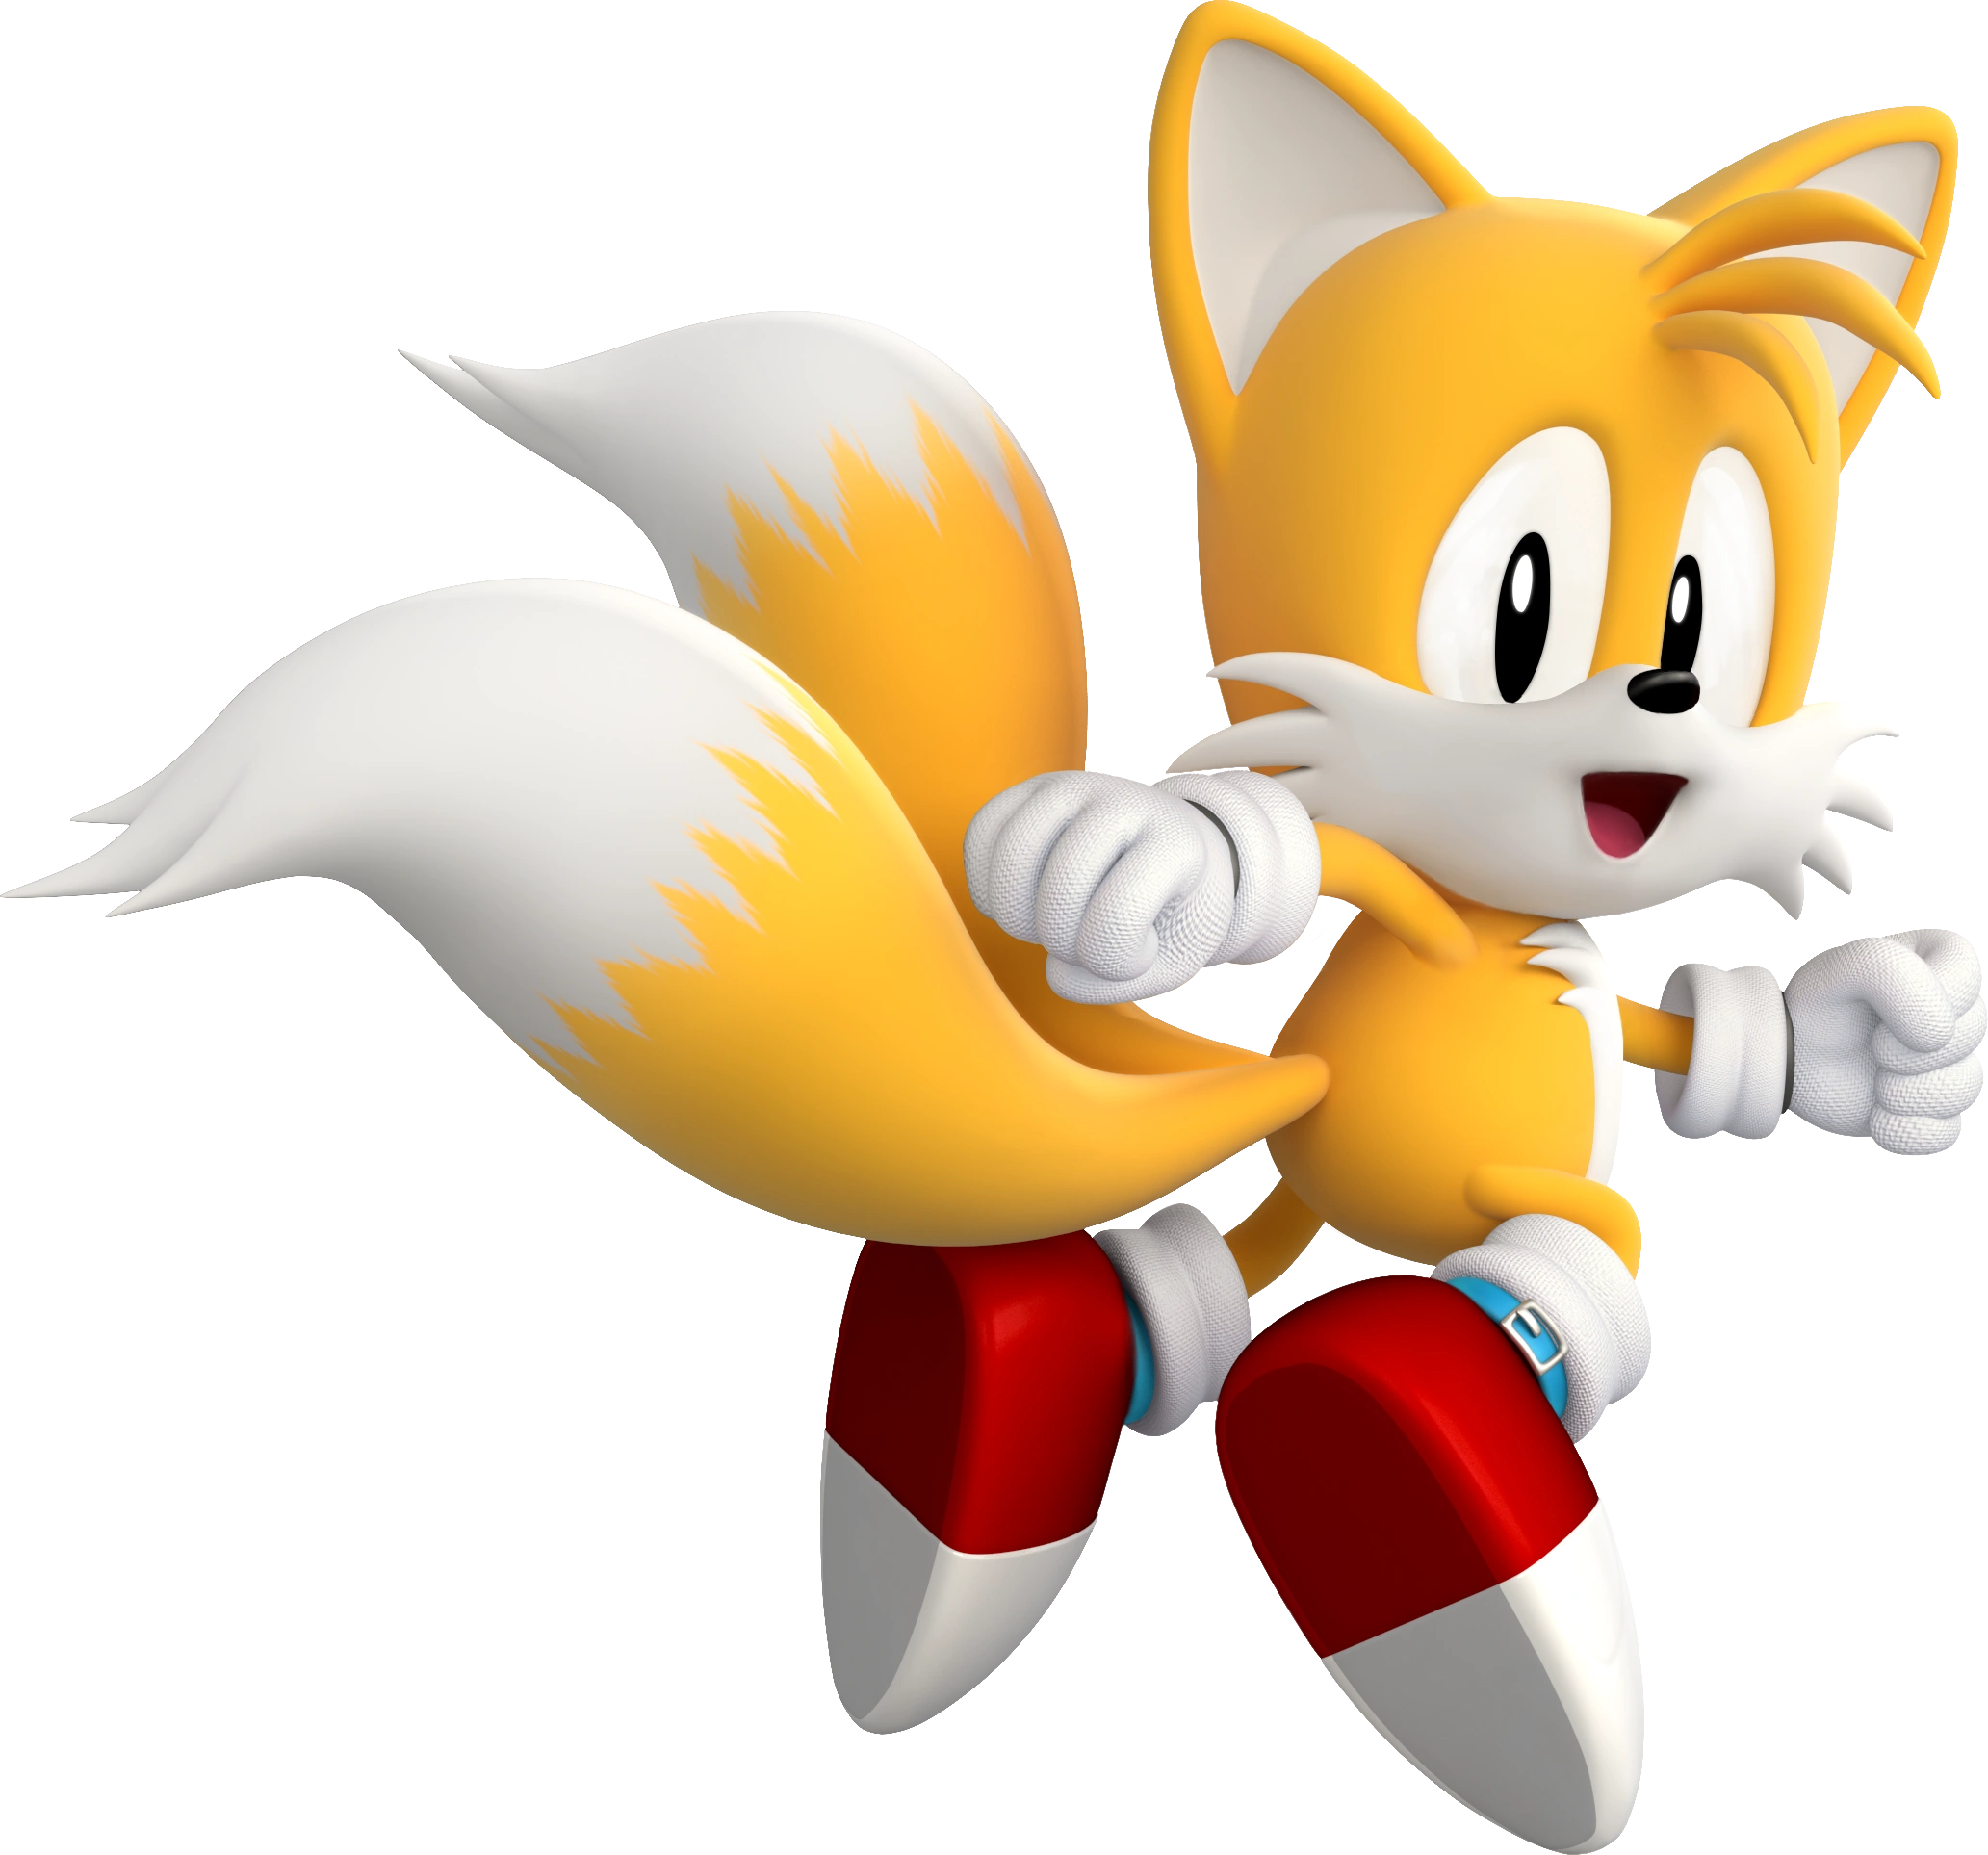
Tails, a character from Sega
Tails, a character from Sega's Sonic the Hedgehog series. Tails is a nickname for Miles Prower, which is a pun on miles per hour, a reference to the famed speed of Sonic the Hedgehog. Tails is a two-tailed fox, hence the nickname. He is a mechanical genius and skilled pilot. He can fly by spinning his tails like a helicopter rotor and can be seen flying in multiple games and TV shows. Two parts require supports and special printing considerations (see notes for very specific and important information). Slicer supports are minimal for the two parts, therefore, no presupported files are included for this model. If you have the proper filament colors, no painting is needed. As presented, Tails is in proportion to my previous Sonic model. Tails can be printed without the base if you want to hang him from a shelf in order to 'fly solo', or printed with the base and one connecting part. The assembled model with the base is 205mm tall. (11/11/2023 note: The mouth.stl part is incorrectly labelled as ‘face’ in the assembly diagram.) Enjoy! .. Special shoutout to maker Benoît Lussier for providing QA printing and quality feedback. .. **Print Instructions:** Supports: Yes (two parts only) Resolution: .2mm (see below for printing tips suggested optional exceptions) Infill: 15% Notes:** Refer to the notes below for a few important printing and assembly instructions. .. **Building the model** Colors Black: (Paramount3D PLA - Black) eye_black_right eye_black_left nose base_bottom base_back base_sides (contains two parts) sole_right (to be used if printing without the base) sole_right_with_pin (to be used if printing with the base) sole_left cuff_black_right cuff_black_left .. Orange/Yellow: (Paramount3D PLA - Eggyolk Yellow) head hair arm_left arm_right tail_orange_left tail_orange_right body .. Green: (DevilDesigns - Light Green) base_green .. Blue: (Parmount3d PLA - Cadet Blue) socks_blue_right socks_blue_left .. Red: (3DFuel PLA - Iron Red) shoes_red_left shoes_red_right .. White: (Overture PLA - White) eye_white_dots (contains two identical pieces) eye_white_right eye_white_left hand_right hand_left ear_right ear_left shoes_white_right shoes_white_left socks_white_right socks_white_left cuff_white_right cuff_white_left belly face tail_white_right tail_white_left .. Grey: (Paramount3d PLA - Prototype Grey) buckles (contains two identical pieces) .. Light Brown: (PolyTerra PLA - Wood Brown) base_lt_brown (contains all the individual parts needed) base_side_lt_brown (contains four identical pieces) .. Dark Brown: (PolyTerra PLA - Army Brown) base_dk_brown (contains all the individual parts needed) base_side_dk_brown (contains two identical pieces) .. **Printing and assembly tips** Printing tips 1 - Special considerations for this model if you plan on using the base. When using the base, one leg holds the whole model up in the flying position on the base. I printed all the parts with a .2mm layer height, 15% infill and all the standard slicer parameters for my MK3 and MK4. The resulting model is well secured and holds the flying position very nicely. However, picking up the model and handling it roughy most likely will put too much stress on the leg resulting in a break. The model resizes like all my other models, but, I do not know how the leg would hold up with a heavier model. 2 - There are some pieces that REQUIRE rafts and or supports. * I used a 2 layer raft: tail_white_left tail_white_right tail_orange_left tail_orange_right mouth * I used slicer supports, from the plate only, with a max angle of 30 degrees. head mouth * I used brims on: hand_right hand_left arm_left arm_right hair (during QA, Benoit used a raft. A brim or raft is required) 3 -The following point is applicable to all my models, but more so for this one: When removing parts from the printer bed, it's a **VERY** good idea to place left/right parts into separate containers to help with the assembly process. Sometimes the difference between the left and right parts is very small but it is still worth keeping track of them and assembling them in their proper place. 4 - Some parts print better with a lower layer height. The head, in particular, has a slope in the back resulting in a note so clean print. Since it is in the back, it is mostly hidden, but a lower layer height for that area would be useful. .. Assembly tips: 1 - Take your time gluing the model together and enjoy the process. Give some thought into which parts to glue together as groups and then gluing the groups together. Let the glue for each group set completely before combining groups. 2 - I used 3D Gloop and E6000 to put this model together. Each type of glue has different pros/cons and I found that 3D Gloop was far easier to use than superglue (for me). The E6000 sticky glue that I also use allows more time to position parts and is still the best for smaller parts. For both glues using a smaller amount is usually better than more glue. 3 - Due to the goal of creating parts that print easily, some of the connections are not as 'sturdy' as I would have liked. However, taking care when gluing and having the patience to let things dry properly works fine. 4 - The cuff_white and cuff_black parts have holes for the arms. The holes are tapered and the wider side faces the arm. Also, the holes are not round, so be sure to rotate the parts to fit the arms. These parts should slide onto the arms easily. 5 - Along with the assembly diagrams, there is a picture highlighting some parts to help confirm assembly. 6 - Refer to the assembly diagrams in the pictures section as well as the uploaded pictures for putting the model together. The model is meant to be glued. Do not hesitate to ask questions, feedback is essential to making better models.
Tails, a character from Sega's Sonic the Hedgehog series. Tails is a nickname for Miles Prower, which is a pun on miles per hour, a reference to the famed speed of Sonic the Hedgehog. Tails is a two-tailed fox, hence the nickname. He is a mechanical genius and skilled pilot. He can fly by spinning his tails like a helicopter rotor and can be seen flying in multiple games and TV shows. Two parts require supports and special printing considerations (see notes for very specific and important information). Slicer supports are minimal for the two parts, therefore, no presupported files are included for this model. If you have the proper filament colors, no painting is needed. As presented, Tails is in proportion to my previous Sonic model. Tails can be printed without the base if you want to hang him from a shelf in order to 'fly solo', or printed with the base and one connecting part. The assembled model with the base is 205mm tall. (11/11/2023 note: The mouth.stl part is incorrectly labelled as ‘face’ in the assembly diagram.) Enjoy! .. Special shoutout to maker Benoît Lussier for providing QA printing and quality feedback. .. **Print Instructions:** Supports: Yes (two parts only) Resolution: .2mm (see below for printing tips suggested optional exceptions) Infill: 15% Notes:** Refer to the notes below for a few important printing and assembly instructions. .. **Building the model** Colors Black: (Paramount3D PLA - Black) eye_black_right eye_black_left nose base_bottom base_back base_sides (contains two parts) sole_right (to be used if printing without the base) sole_right_with_pin (to be used if printing with the base) sole_left cuff_black_right cuff_black_left .. Orange/Yellow: (Paramount3D PLA - Eggyolk Yellow) head hair arm_left arm_right tail_orange_left tail_orange_right body .. Green: (DevilDesigns - Light Green) base_green .. Blue: (Parmount3d PLA - Cadet Blue) socks_blue_right socks_blue_left .. Red: (3DFuel PLA - Iron Red) shoes_red_left shoes_red_right .. White: (Overture PLA - White) eye_white_dots (contains two identical pieces) eye_white_right eye_white_left hand_right hand_left ear_right ear_left shoes_white_right shoes_white_left socks_white_right socks_white_left cuff_white_right cuff_white_left belly face tail_white_right tail_white_left .. Grey: (Paramount3d PLA - Prototype Grey) buckles (contains two identical pieces) .. Light Brown: (PolyTerra PLA - Wood Brown) base_lt_brown (contains all the individual parts needed) base_side_lt_brown (contains four identical pieces) .. Dark Brown: (PolyTerra PLA - Army Brown) base_dk_brown (contains all the individual parts needed) base_side_dk_brown (contains two identical pieces) .. **Printing and assembly tips** Printing tips 1 - Special considerations for this model if you plan on using the base. When using the base, one leg holds the whole model up in the flying position on the base. I printed all the parts with a .2mm layer height, 15% infill and all the standard slicer parameters for my MK3 and MK4. The resulting model is well secured and holds the flying position very nicely. However, picking up the model and handling it roughy most likely will put too much stress on the leg resulting in a break. The model resizes like all my other models, but, I do not know how the leg would hold up with a heavier model. 2 - There are some pieces that REQUIRE rafts and or supports. * I used a 2 layer raft: tail_white_left tail_white_right tail_orange_left tail_orange_right mouth * I used slicer supports, from the plate only, with a max angle of 30 degrees. head mouth * I used brims on: hand_right hand_left arm_left arm_right hair (during QA, Benoit used a raft. A brim or raft is required) 3 -The following point is applicable to all my models, but more so for this one: When removing parts from the printer bed, it's a **VERY** good idea to place left/right parts into separate containers to help with the assembly process. Sometimes the difference between the left and right parts is very small but it is still worth keeping track of them and assembling them in their proper place. 4 - Some parts print better with a lower layer height. The head, in particular, has a slope in the back resulting in a note so clean print. Since it is in the back, it is mostly hidden, but a lower layer height for that area would be useful. .. Assembly tips: 1 - Take your time gluing the model together and enjoy the process. Give some thought into which parts to glue together as groups and then gluing the groups together. Let the glue for each group set completely before combining groups. 2 - I used 3D Gloop and E6000 to put this model together. Each type of glue has different pros/cons and I found that 3D Gloop was far easier to use than superglue (for me). The E6000 sticky glue that I also use allows more time to position parts and is still the best for smaller parts. For both glues using a smaller amount is usually better than more glue. 3 - Due to the goal of creating parts that print easily, some of the connections are not as 'sturdy' as I would have liked. However, taking care when gluing and having the patience to let things dry properly works fine. 4 - The cuff_white and cuff_black parts have holes for the arms. The holes are tapered and the wider side faces the arm. Also, the holes are not round, so be sure to rotate the parts to fit the arms. These parts should slide onto the arms easily. 5 - Along with the assembly diagrams, there is a picture highlighting some parts to help confirm assembly. 6 - Refer to the assembly diagrams in the pictures section as well as the uploaded pictures for putting the model together. The model is meant to be glued. Do not hesitate to ask questions, feedback is essential to making better models.
Free STL file Tails - Classic 👽・3D printing template to download・Cults
Free STL Files & 3D Printer Files: The Best Sites in 2023

Free STL Files & 3D Printer Files: The Best Sites in 2023
, File format - .STL

Tails ( Sonic )
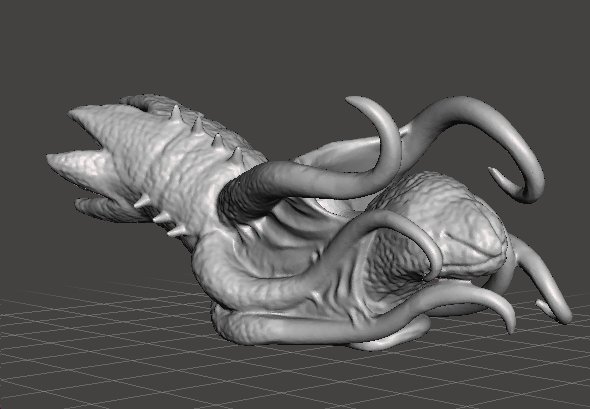
COSMIC HORROR DHOLE SQUID MONSTER MINIATURE MODEL FIGURE FOR FANTASY GAMES RPG 3D Print Model in SCI-FI 3DExport

Devin Montes (@make.anything) • Instagram photos and videos
tails 3D Models to Print - yeggi

THE TAIL OF ALIEN 3D model 3D printable

Classic Tails - Download Free 3D model by ivan.vladimirov08 (@ivan.vladimirov08) [a22e1d2]
tails 3D Models to Print - yeggi
Alien Model
Recomendado para você
-
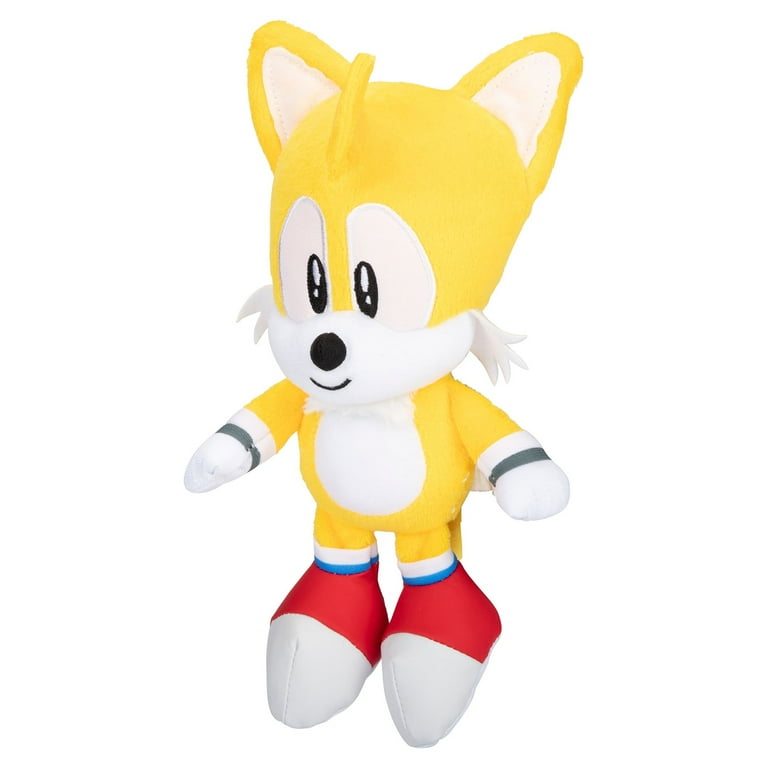 Sonic the Hedgehog 8.75 Classic Tails Plush Toy21 setembro 2024
 -
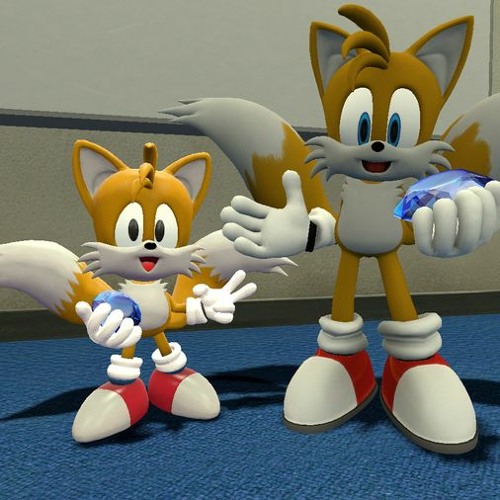
 Classic Tails, Foxes of Gaming Wiki21 setembro 2024
 -
 Stream Tails classic official music Listen to songs, albums, playlists for free on SoundCloud21 setembro 2024
 -
 Classic Sonic And Classic Tails In Sonic 421 setembro 2024
 -
 Sonic Classic - Sonic & Tails Hi-End Wall Scroll 31W x 43H21 setembro 2024
 -
 Classic Tails Sonic, Sonic the hedgehog, Hedgehog21 setembro 2024
 -
 Evolution of Classic Tails (1992 - 2017)21 setembro 2024
 -
 Jakks Pacific Sonic the Hedgehog Classic Tails 2.5 Action Figure21 setembro 2024
 -
 Tails classic official (@GamesSonicTails) - Game Jolt21 setembro 2024
 -
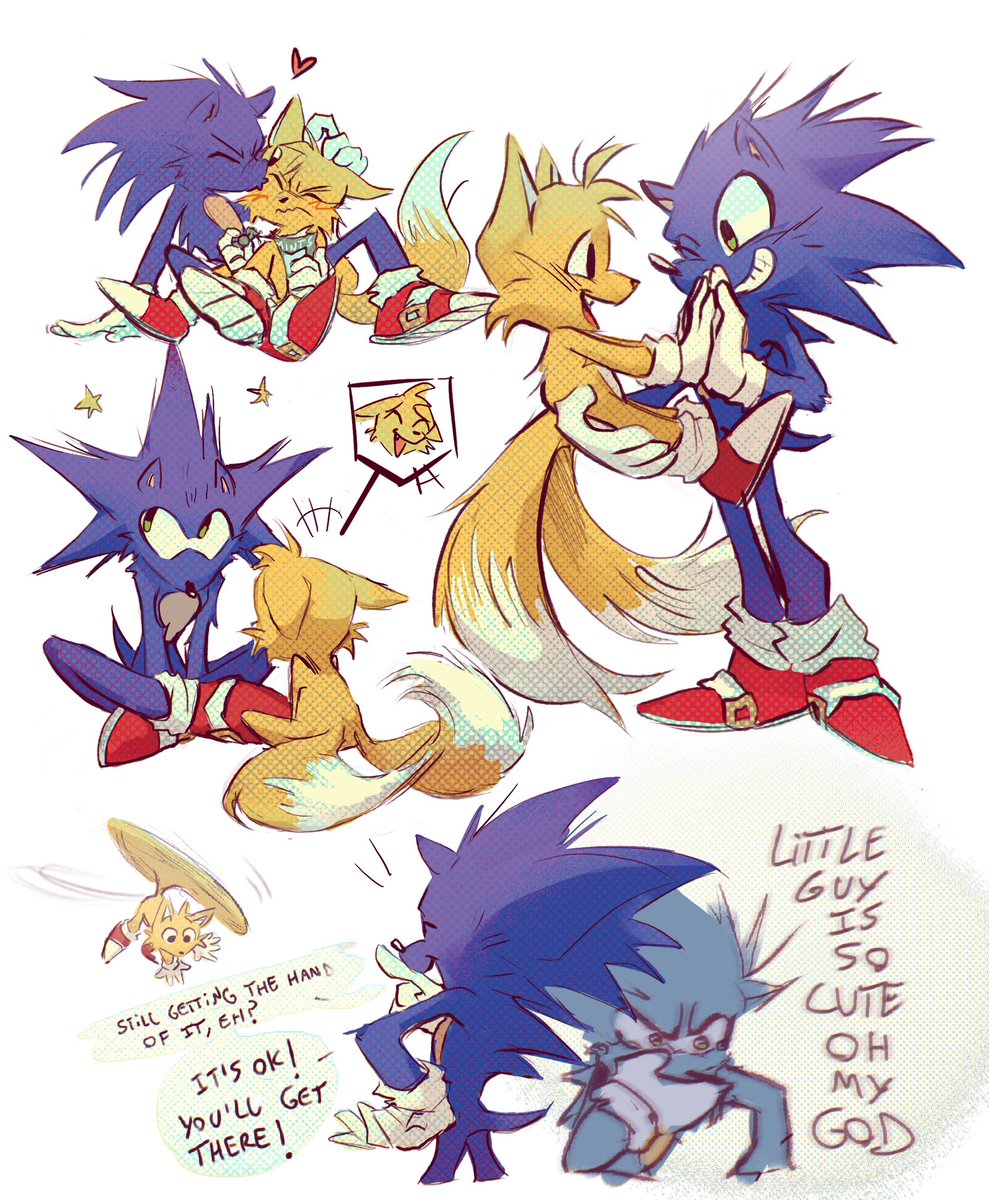 pelusa 🍂 on X: Classic Tails + Modern Sonic for an anon on tumblr (and also cuz they make me happy!!) / X21 setembro 2024
você pode gostar
-
 packs Cat icon, Cat aesthetic, Cute cats21 setembro 2024
 -
 CapCut_música de jogador⚽ 2023 vídia21 setembro 2024
 -
 Pokemon: Crown Zenith Galarian Articuno, Zapdos, and Moltres Tins21 setembro 2024
 -
 ARMAS DE FOGO REVÓLVER .357 MAG21 setembro 2024
 -
 xadrez azul, guingão, xadrez, fundo de padrão tartan, perfeito21 setembro 2024
 -
 Gollum actor Andy Serkis has 'sex four or five times' a day - doesn't shower21 setembro 2024
 -
 Michael Blueycapsules | Sticker21 setembro 2024
 -
 O que significa flopar? Entenda gíria utilizada nas redes sociais21 setembro 2024
 -
 Cyclops.iso speed draw by steelstrike on DeviantArt21 setembro 2024
 -
GTA Online: mod que reduz carregamento em 70% vai ser aplicado no21 setembro 2024